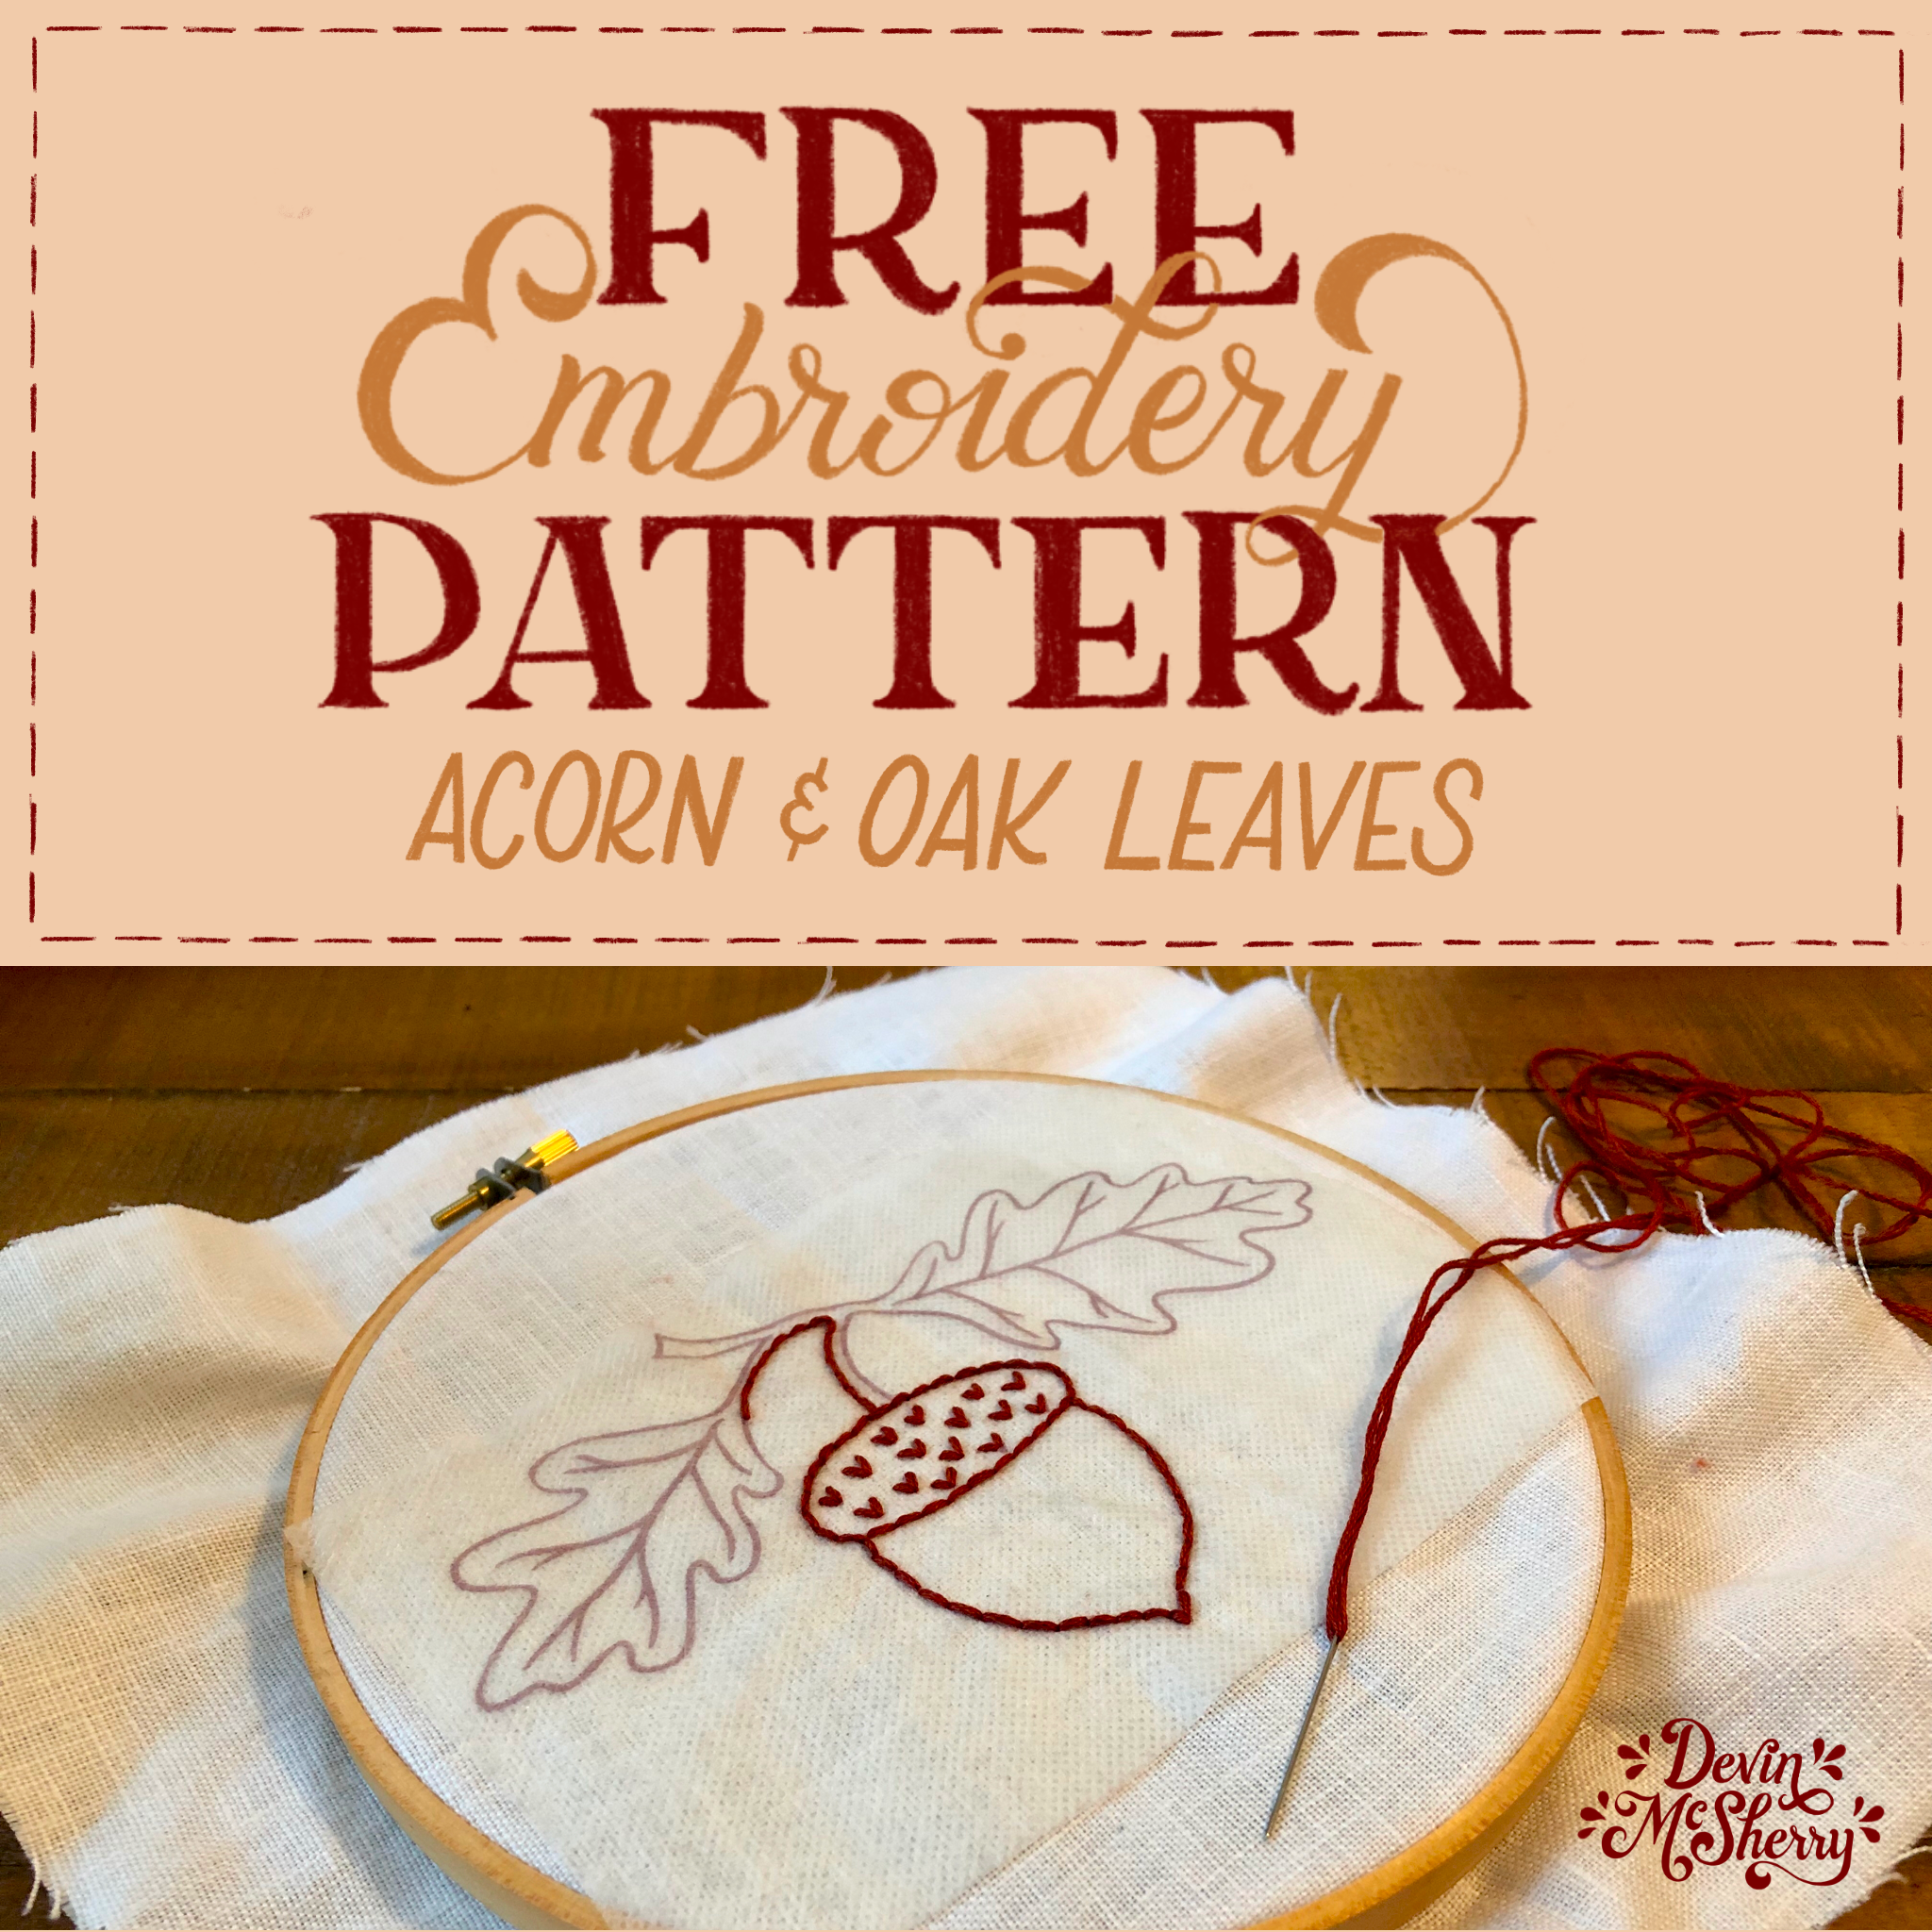
Acorn & Oak Leaves - Free Embroidery Pattern Download
Autumn is in full swing...
And with it comes all the lovely colors and motifs of the season - including the humble acorn.
According to the National Wildlife Federation, these little nuts make quite an impact on the ecosystem during the fall. I always knew that squirrels ate acorns, but I had no idea that they make up about 75% of the white-tailed deer’s diet during the late fall and winter months. In fact, over 100 different species eat acorns and heavily rely on them as a source of fat and nutrition. And apparently if prepared correctly, people can snack on them, too. Huh. I had no idea!
Anyways, besides their environmental benefits, acorns happen to be super cute and the perfect fall-themed art subject.
In my journey to do more things by hand, I’ve been wanting to give embroidery a try. To get started, I thought I would illustrate a straightforward pattern and use the simple backstitch to outline the design - an easy beginner project to get under my belt. In fact, this is a perfect project for anyone with zero to minimal embroidery experience. So please don’t be intimidated to try this out! I am nowhere near an embroidery expert. It’s just so fun and meditative to do such a tactile craft - something many of our ancestors did all the time.
I found this video tutorial by Shiny Happy World to be super helpful - hopefully it helps you, too. I encourage you to grab a piece of scrap fabric, practice stitches for a bit, then give this project a try!
Tools:
Embroidery hoop
I used a 4” hoop for the pocket and a 7” hoop for the decorative shelf piece.
Embroidery floss
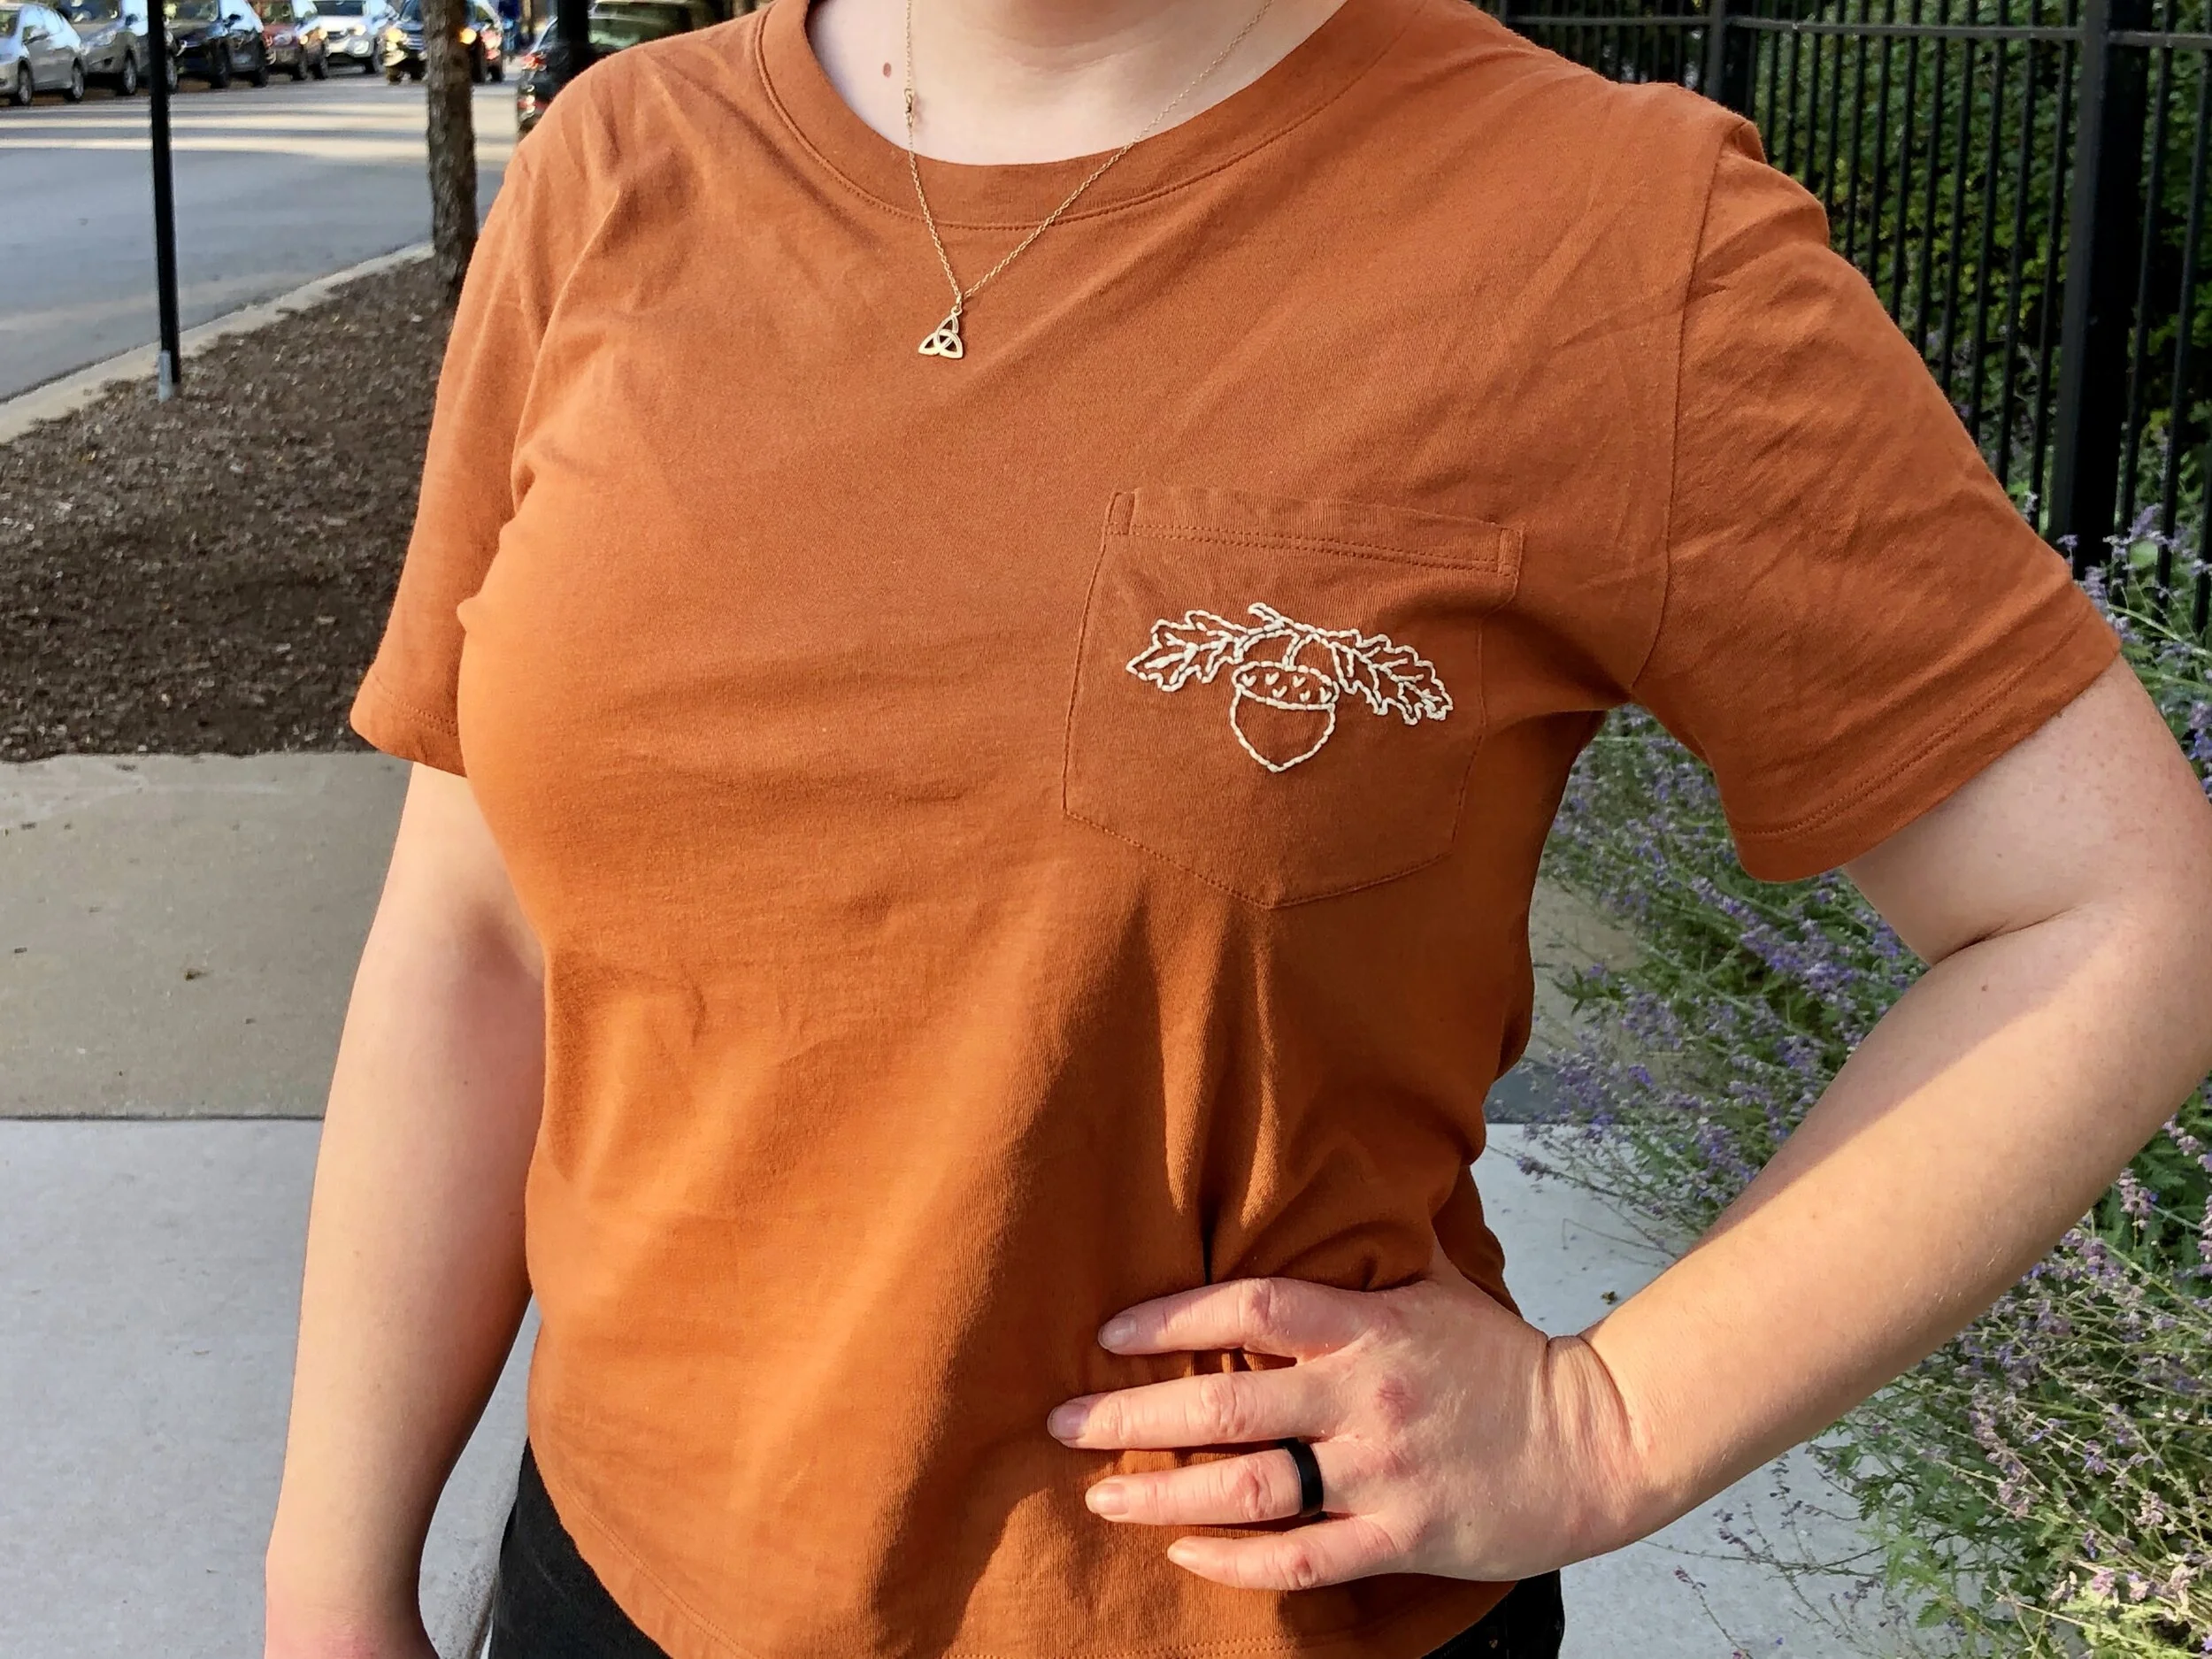
I used DMC #746 Off White for the t-shirt pocket and DMC #918 Dark Red Copper for the embroidery hoop.
Embroidery needle
I used DMC round end #24 needles.
Fabric to embroider
I used bright white 100% linen that I found in the scrap bin at JoAnn Fabrics. This would also work well with a lighter color floss and a dark fabric.
The Acorn & Oak Leaves pattern (download below)
Optional: T-shirt with pocket, onesie, or any other clothing item.
Please note: If embroidering the design on stretch fabric, you will need a stabilizer. I used these sheets that allow you to print the design directly on the stabilizer, then peel and stick onto the fabric. You can sew into the sheets and they dissolve in water once you’re finished! Handy dandy.
I used the Cotton Box-Cut Pocket Tee in Cider from Everlane for this project. Super soft and cozy!
HOW TO:
Either print the design on a stick-on stabilizer and place on top of your fabric, or trace the design onto your fabric using a pencil and a sunny window. Once the design is outlined, secure your fabric tightly in a hoop.
If using a stretch fabric, you’ll definitely need a stabilizer so the design doesn’t bunch together once you release it from the hoop. (See note above) Another tip: try not to leave the hoop on your stretch fabric for too long since it may leave a stretched out circle - no good.
Once your fabric is all set up in the hoop, cut a long piece of floss and thread your needle. I usually swirl the end a few times around my finger, twist, and pull to create a messy knot - like this. Then choose a starting place and begin backstitching! You’ll probably run out of thread at a few points, so you’ll just have to begin this process again and pick up where you left off. The back of my embroidery is a hot mess haha, but it’s only seen from the front so no worries! Don’t stress too much over any mistakes - handmade things are lovely in their imperfection :) Have fun with it!
This pattern would be so sweet on a tea towel, a knit hat, a flannel, or even cloth napkins for a Thanksgiving table setting. How would you use this pattern? Share in the comments below!
And be sure to tag me on Instagram (@devin.mcsherry) if you post photos of your project with the design! Can’t wait to see your spin on this!


